Create a Card Design
Customers enrolled in your gift card program have will receive a digital or physical card that holds their account balance. These cards can be customized with a design that reflects your business' brand.
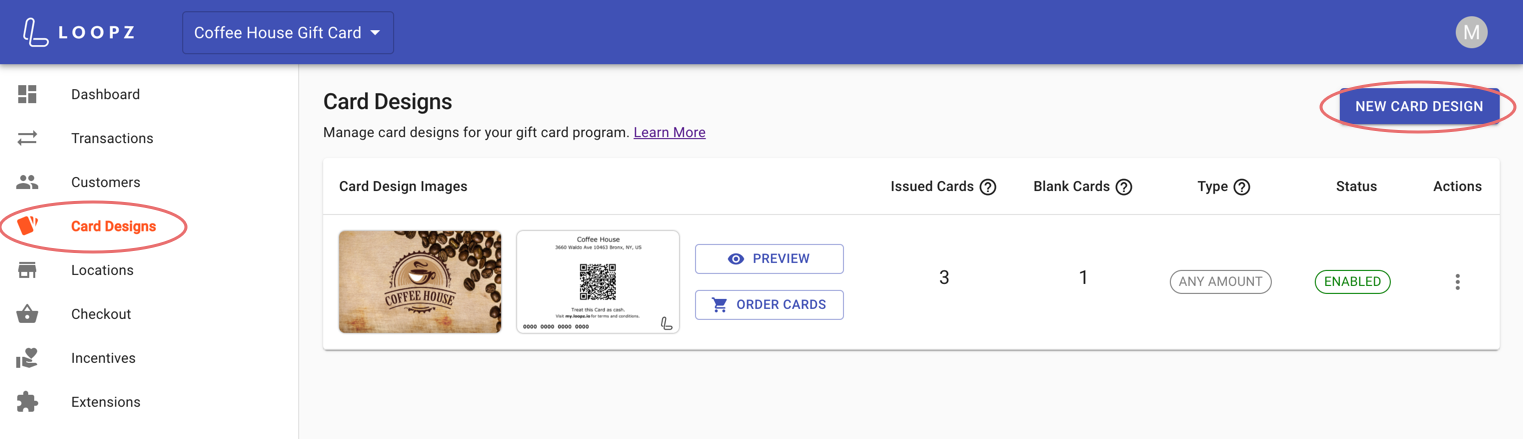
1) Create a new card design
Go to the dashboard and navigate to the Card Designs screen. Now click on the the New Card Design button in the top right corner.
2) Add your card design artwork
Upload the image file for the front of your new card design. The ideal image size is 1081px x 708px. You can use our guide on how to create a design image in Canva if you don’t yet have a design image. Once you’ve uploaded an image click on Next.

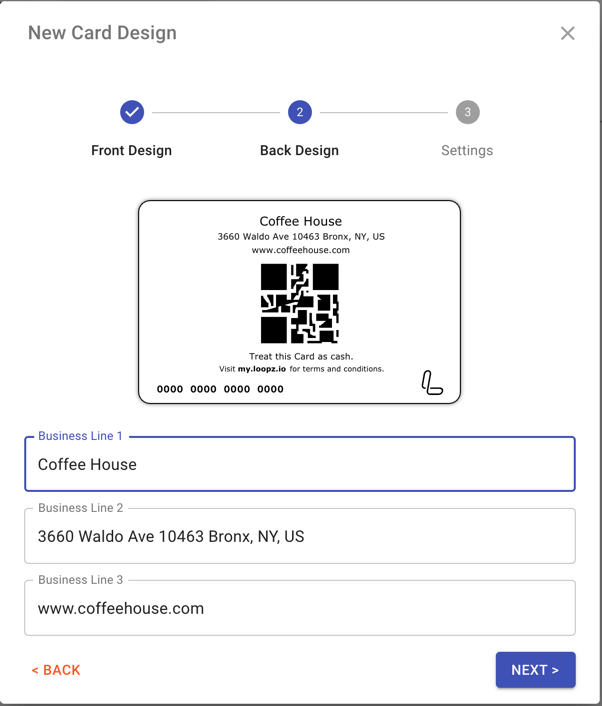
3) Configure back design
Now customize the back side of the card design. Enter your business details or anything else you would like printed on the back side of the card. Once done, click the Next button. If you want a custom back design, you can contact us. We only offer custom back designs on card orders of 500 cards and up.
4) Select the type of your card design
Two types of card designs are available:
Any Amount: Any amount can be loaded onto a gift card with this design, as long as it’s in between the minimum topup amount and the maximum balance amount configured for your gift card program.
Fixed Amount: A gift card with this design will have a fixed amount and cannot be changed by the gift purchaser. Use this type when selling gift cards that are intended for a specific product or service.
Click Create Card Design to create your new card design.

5) Card design created
Your new card design had been added to your gift card program and will now be shown in your online checkout page and in the app on your Clover devices. You can now place an order for physical cards with the design by clicking the Order Cards button next to the card design.

